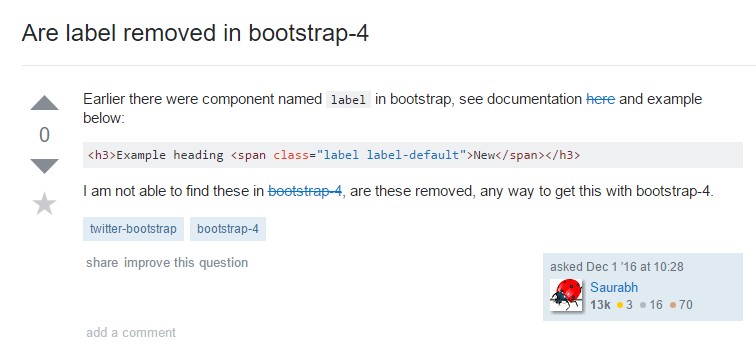
Bootstrap Label Class
Overview
Being explained previously, in the webpages that we are creating, we usually desire involving uncomplicated or else more complicated forms to consult with the visitor for a position, comments, certain individual information or else preferences. We complete that involving the correct commands in our forms carefully taking into consideration the form structure as well as the specific regulations which need to be operated concerning the info we want and the special case included-- just like we just cannot have an order for a single colored phone case that is both blue and white , a person can not be both male and female in gender or a product have to be guided with multiple supplements that do not exclude one another so selecting each must bring it not omitting the others currently picked. Often, undoubtedly, we do want a precise mail delivered as well as a contact number which also needs to have the input which needs to comply with specific format just to be proper and of course at particular situations we simply need website visitor's thought and feelings on a subject the manner they experience it-- in their own words.
For each of these particular scenarios we use the suitable commands-- such as radio buttons, checkboxes, input areas, content area elements and so forth but there is an necessary component bound each of these types of sectors that develops our forms comfortable and easily clear for the website visitor to browse through knowing in all times what is really wanted and easily managing even the small controls such as radio switches and checkboxes. Specifically nowadays when the web turns more and more mobile together with web pages revealed on several small sized screens this element is significant in delivering productivity and quickness in accomplishing our form.This element is a Bootstrap Label Align. ( useful reference)
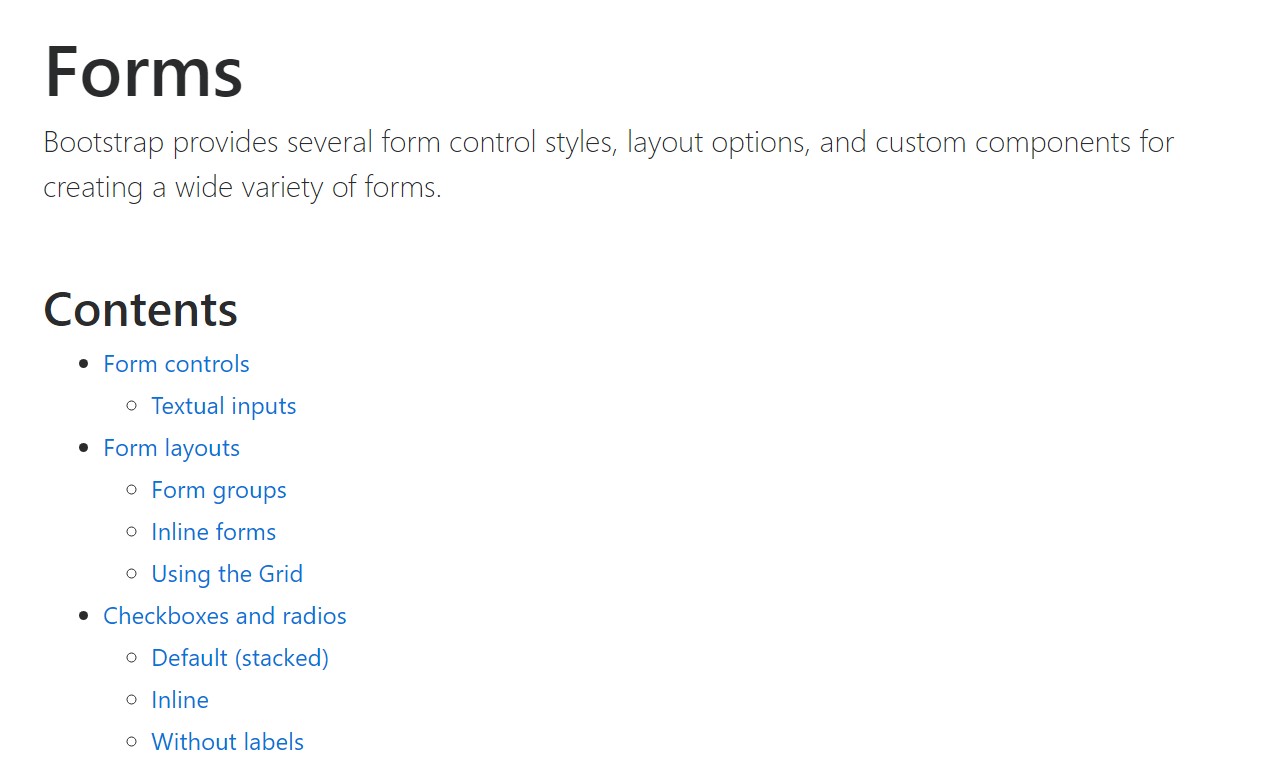
The ways to work with the Bootstrap Label Class:
The things so far has been said deal with the
<label><label>The system is quite simple-- just place a
<label>for =" ~ labeled form control ID ~ "for=""<label><label>Nevertheless covering form controls within labels is somewhat complicating the code and it is definitely more desirable to leave out it-- in addition utilizing the
for =""Additionally conventional text inside the
<label>Example of form with no label
Should you have no text message just within the
<label>aria-label
<div class="form-check">
  <label class="form-check-label">
    <input class="form-check-input" type="checkbox" id="blankCheckbox" value="option1" aria-label="...">
  </label>
</div>
<div class="form-check">
  <label class="form-check-label">
    <input class="form-check-input" type="radio" name="blankRadio" id="blankRadio1" value="option1" aria-label="...">
  </label>
</div>
Fascinating matter to consider
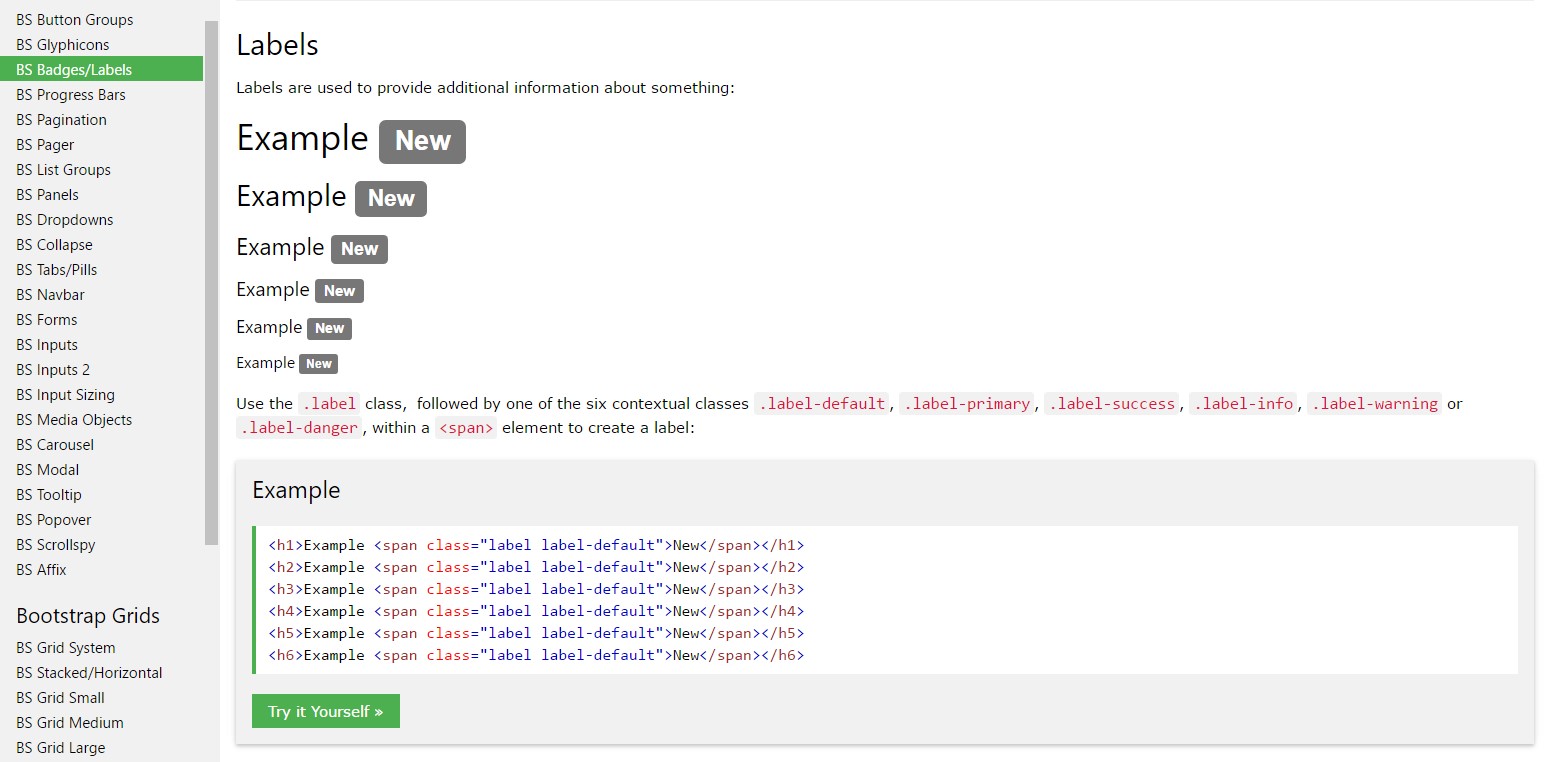
Exciting item to mention concerning labels in Bootstrap 4 in case that in the brand new model of the framework this form of element's styling has been actually changed a little. The
<label>inline-blockConclusions
So now you figure out just what the # elements are for and just how they behave in Bootstrap 4-- everything that's left is thinking of the most suitable form areas you ought to attach them to.
Check several youtube video tutorials about Bootstrap label
Related topics:
Application of the label within in Bootstrap Forms: official documents
Bootstrap label training
Taking out label in Bootstrap 4